
How to prepare for your business photoshoot: behind the scenes of our own successful shoot
I did a lot of work on my packages, key messaging and website last year. It started out with a desire to gently shift niches and a new product creation (which had been on my wish list for two years!).
With the help of digital marketing strategist (and my sister!) Koren Helbig, we re-wrote a lot the copy across my website and refined my key messaging. Our branding team refreshed our colour palette particularly so that it would meet accessibility standards (a important part of creating a kind website experience).
New imagery was needed too. But, because I’ve been living in Thailand for the past two years, there wasn't the opportunity to do the kind of shoot I was dreaming of.
I’ve been back in Australia for the last three months (about to head off to Asia again real soon – Yay!) so I took this opportunity to finally do the brand shoot I wanted… and oh my I'm SO proud of how it turned out.
There's been a couple of "failed" shoots in my past so I wanted to share with you a behind the scenes peek into how I prepared for this recent shoot to make sure I got what I needed (especially as I have no idea when I'll be back in Australian again.)
From choosing the perfect photographer and location to planning outfits and creating a detailed shoot list, every step was crucial in ensuring the photos truly reflected my brand. Let me walk you through my process!
01.
Choosing a photographer
My photographer Yani Rae, came recommended from a friend a few years back. I had seen some of her photos online and immediately fell in love with her natural, earthy and authentic style.
I continued to 'stalk' Yani over a couple of years. So when I booked her, I knew – without a doubt – our styles aligned and she would get my vision.
I think we can sometimes overlook the fact that photographers are artists and they each have their own style… it's really about making sure that your styles are a match… otherwise you're contorting an artist into a style they don't do… and that's really no good for either parties involved.


02.
Choosing a location
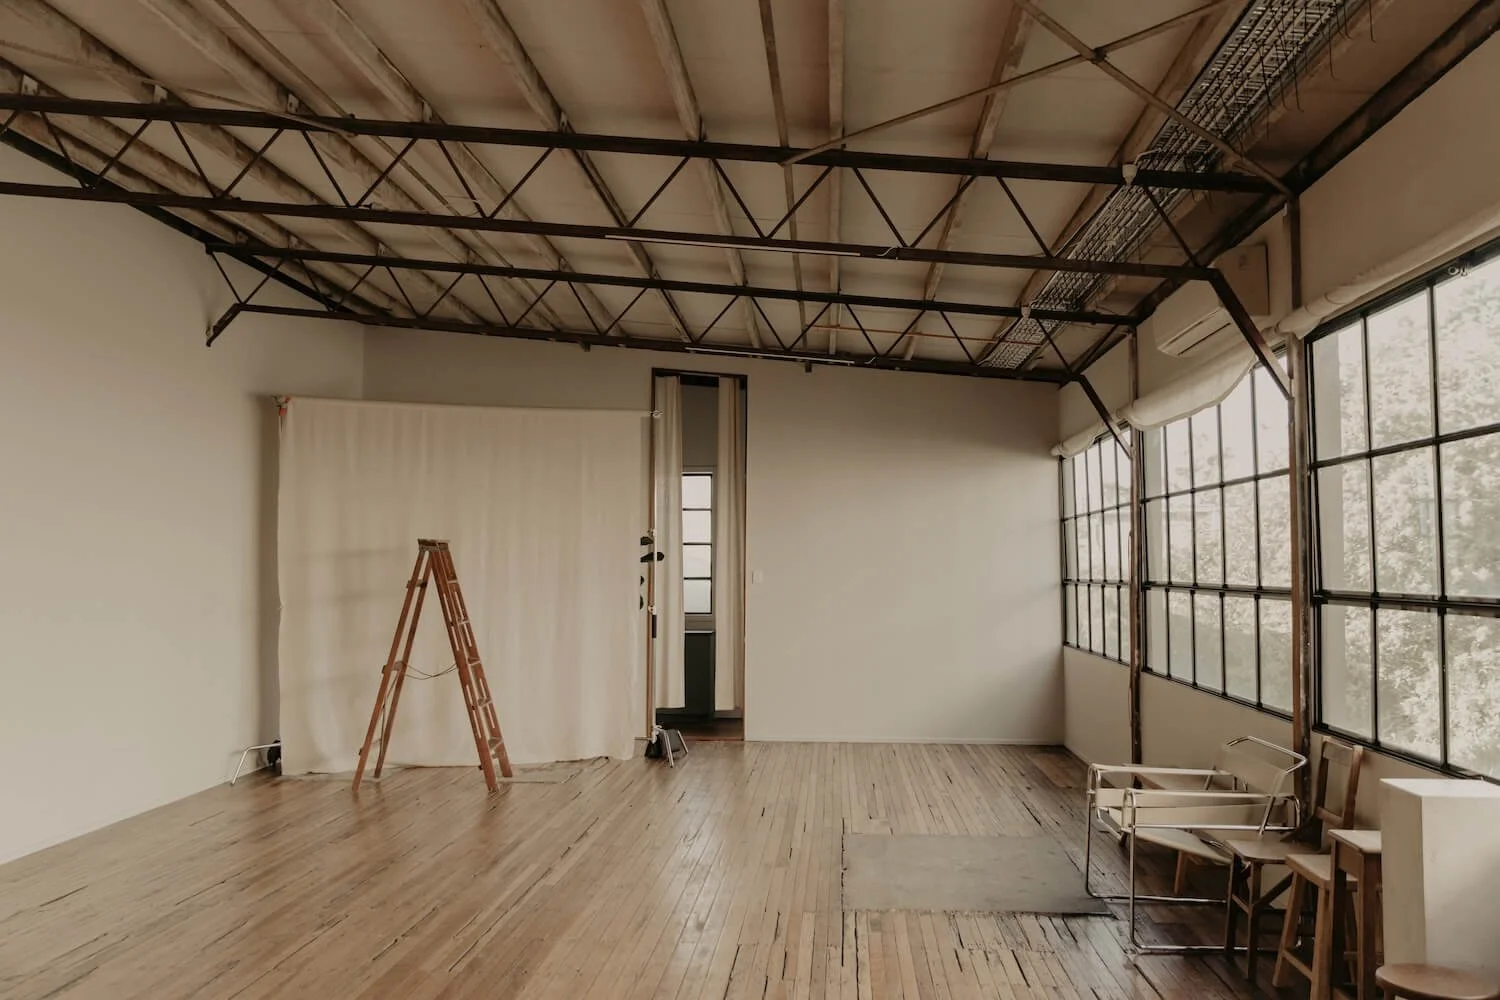
I stumbled across Yatoma Studio, Brisbane via a post on Instagram. The timber floors, industrial elements, natural colours, huge windows and minimal settings was everything I was looking for.
In preparation, I went to the studio a couple of weeks before my shoot at the exact time of day my shoot would be held, so I could get a sense of the lighting, size of the studio, where / how I might setup for different shots and what props were available.
Going to the location prior to the shoot was one of the most beneficial things I did in this process because, on the actual day, I walked into the studio fully confident, knowing exactly what to expect.
03.
Choosing an outfit
I was after a minimal, neat casual look that felt like me, so I'd be comfortable on the day.
I opted for a clean white shirt (neutral tops that don't distract with lots of patterns will have more longevity for socials etc), bare feet (that's how I normally roll) and a nice pair of jeans (because I really am a jeans and t-shirt kinda girl).
I decided to go with just one outfit to keep things simple and because lots of outfit changes stress me out. I want to focus on feeling good and being creative on the day (not my wardrobe).
My big tip here is to make a Pinterest board of outfits you like. I referred to this board while I was shopping so that I wouldn't get confused, distracted or overwhelmed and it worked a treat in helping me to find an outfit I loved.


04.
Hair and makeup
My hair and makeup artist Jim Artistry had been referred to me a few times from various people so I knew he came well recommended. His studio also happens to be just a few minutes drive from Yatoma Studio, so that was a big bonus.
I wanted to look 'effortlessly natural' (wink!). Normally I don't wear makeup and I find if I have too much makeup on, I can look like a man – with makeup on (true story). I felt really nervous about someone doing my hair and make-up as I've had some pretty bad experiences.
Just like I did with my outfit, I pinned hair and makeup inspiration to Pinterest and showed this to Jim on the day. He nailed it.


05.
Branding shoot list
One of the common mistakes I see businesses make with brand shoots is not thinking beyond shots of their face. When it comes to using your branding photos on your website and beyond, you really don't want your face everywhere.
I mean, there's nothing wrong with this, but it doesn't do a lot to visually tell the story of your brand.
The right images should help you highlight your products and services, your values, personality, the culture of your business. And, if done right, because of the visual nature of imagery, they can very quickly help to convey your messaging – a lot faster than written words.
I have lots of client documentation, training slides and quite a big website. Add to the fact that I'm about to head back overseas, I wanted to make sure that I got a solid library of imagery that visually represents my brand, the services I offer and my key messaging – and that would have longevity. The images needed to be so much more than just me smiling at the camera.
To achieve this, I created a branding shoot list – a detailed plan outlining specific shots, props, locations, and poses – and I shared this with Yani a couple weeks prior to the shoot to make sure we were both on the same page.
I also have a tendency to be highly influenced by other people's opinions when I'm uncertain or stressed (this can happen during a photoshoot). So I wanted to make sure I went in with a clear vision that I could refer back to, while still being flexible and creative. The shoot list worked a treat for keeping me anchored into my vision. And I was also able to relax and be open to creative suggestions from Yani, too.
Btw – I've made a mini training for you on how to prepare for your photoshoot plus it comes with a brand shoot template so you can create your own shoot list. Grab the training over this way.


Need help preparing for your next brand shoot? Grab our mini training and brand shoot list Canva template.
This mini training (which can be watched in just 20 minutes) will step you through exactly how to prepare for and have a successful brand shoot. Plus receive a copy of our brand shoot list Canva template to use for your shoot.
This streamlined process will help you to get the high-quality images you need for your website, social media, marketing materials, and more.